
Are you selling your used car online? It can be more complex than expected. It would be best if you made your car stand out from the rest and catch the attention and interest of buyers. One time-tested way of achieving this is by taking great photographs. According to industry reports, around 62% of buyers are directly influenced by images when they buy anything, and cars are no exception.
Clicking great photos of your used cars is an often overlooked yet vital part of increasing sales for your dealership. You don’t need to be a professional photographer to capture compelling images, but you need to get the fundamentals right to help your photos grab the attention of possible buyers. So, we’re here to tell you how you can boost your sales simply by taking better photos!
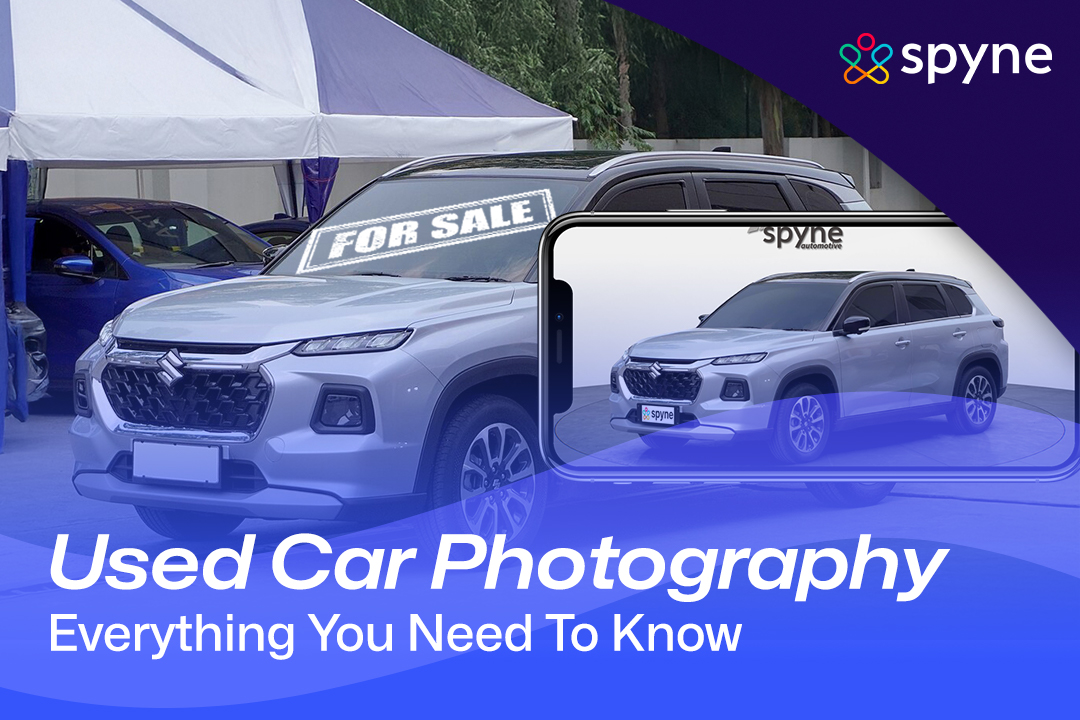
What is Used Car Photography?
Used car photography or automobile photography captures pictures of pre-owned cars to showcase their condition and features and appeal to potential buyers. This kind of photography is crucial for car dealerships looking to attract buyers for their fleet of cars. It involves capturing all the details about the vehicle, including its exterior, interior, seats, dash, doors, engine, boot, and other possible information to give a complete picture.
Moreover, while clicking pictures of a car, dealerships should prioritize the car’s features and basic look and feel by ensuring proper lighting, clutter-free background, camera settings, etc., to build a solid first impression among potential buyers.
What is the Importance of Used Car Photography
In today’s digital age, auto photography is critical in selling your car online. Since most car buyers have started searching for vehicles online, photos have become the perfect way to give buyers a look and feel of what they are buying. According to reports, 90% of vehicle shoppers prefer to start the buying process online. Therefore, here are some reasons why used vehicle photography is so crucial in today’s age:
1. Establish Trust: Firstly, a good-quality image not only shows the fine details of the car to the potential buyer but also builds trust with the dealer/seller. Displaying every angle, feature, and aspect of the car maintains transparency, which is highly valued among car buyers.
2. Sets the First Impression: They say, “A picture is worth a thousand words,” and rightly so. Buyers form a quick opinion based on the first images they see. Hence, high-quality, well-lit car photoshoots set a positive first impression, encouraging buyers to explore the vehicle further.
3. Displaying Condition: Buyers are often concerned about a used car’s wear and tear, and a high-resolution photograph helps them gauge the condition effectively. Hence, for car listing photography, it’s advised to capture everything from minor scratches to tire condition, dents, etc.
4. Setting Expectations: By maintaining transparency and providing as many details as possible about the dashboard, engine, bumper, tires, and engine, you can set realistic expectations among interested buyers and minimize post-sale disputes.
5. Accelerate Sales: Lastly, pictures, along with providing details, also work by building an emotional connection. Buyers often envision themselves in the car, helping dealerships close deals faster.
Top 20 Tips on How to Photograph a Car for Sale
A good photo makes selling a used car relatively easy. Not only will it attract buyers, but it will also increase the value of vehicles. Here are 20 photo tips to create a pre-owned car look at its best:
- Clean it First: Firstly, wash it inside and out before snapping a used car. Be sure to wash the exterior and thoroughly vacuum the interior. Wipe down every surface, from the dashboard to the carpet, to make it spotless.
- Snap it on a Sunny Day: Nothing is better than natural daylight. So, schedule the car photography on a sunny day to avoid harsh shadows. Planning an early morning or afternoon shoot is recommended for a softer and flattering effect.
- Park it Straight: Now, even a minor curve in parking can make your car look crooked in photos. Thus, dealers must park the vehicle in a straight line to make it look neat, even if it is not.
- Choose a Neutral Background: A busy or cluttered background can be a distraction. Therefore, opt for a simple and clean background, like a driveway, empty parking lot, an open field, etc, to make the car the center of attraction.
- Capture Every Angle: Snap every angle of the car to give your potential buyers a complete view. A close shot of the front, rear, and other distinctive details helps buyers understand the condition and features of the car.
- Include the VIN: The VIN, or Vehicle Identification Number, is the DNA of a car. Including a photo of every used car in the library will allow buyers to uncover all the hidden facts about the vehicle.
- Click the Odometer: Now, the Odometer keeps the dealing transparent and confirms the usage of the car. Dealers should add a close-up shot of the odometer.
- Photograph the Damage: Do not forget to capture any dents, scratches, or imperfections the car might have. Being upfront about the flaws will save you from potential disputes.
- Use a Tripod: Whether you use a camera or a smartphone with manual settings, invest in a good tripod. A tripod offers ultimate stability, especially when shooting cars in motion.
- Focus on the Details: Important features like an infotainment system, classy steering wheel, and shifter play key roles in selling cars. Close-up shots of these will attract tech-savvy buyers.
- Include the Tyres: The condition of tyres significantly influences the decision to purchase a car. A detailed shot of the tyres and their thread depth helps buyers understand their condition.
- Show off the Engine Bay: If the engine bay of the used car is well-maintained, taking a close-up shot of it is a must. Buyers are often curious to see whether this has been appropriately cared for.
- Cover Trunk and Storage Space: Click a photo of the old car with an open trunk to show its storage capacity. It also mirrors if the car is carrying any extra weight, such as a jack, cargo mats, spare tyres, and more.
- Capture the Documents: Proper documents confirm the legalisation of a car. Photos of the car’s registration and service records are crucial in an old car’s photo inventory..
- Do Not Use Flash: Flash can create unwanted reflections. Thus, stick with natural lighting and avoid using flash.
- Take a Shot with a Person: Moreover, dealers can also take a picture of the car with someone standing next to it. This will give buyers an insight into the better sense of size. It is especially applicable to SUVs and other large vehicles.
- Nighttime Shots: Though this is optional, nighttime shots highlight the illuminated features of your vehicle, whether it is interior lights or headlights.
- Show the Underbody: If a car’s underbody is rust-free, it can be a selling point. This helps buyers to know whether the car has been properly cared for.
- Highlight Any Customization: Moreover, if the car has undergone any customization aftermarket, be it custom-made spoilers, performance parts or rims, clicking them is a must.
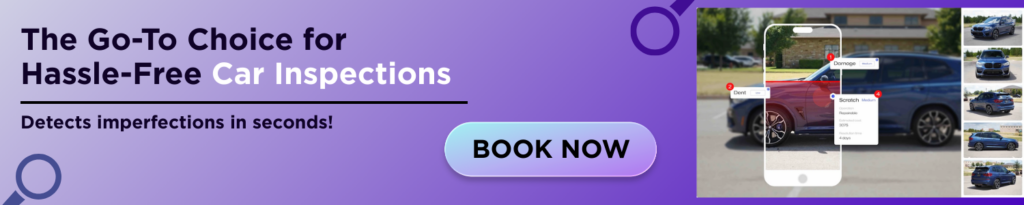
- Use Editing Software: Lastly, cutting-edge editing software, like Spyne, can modify the background, lighting, contrast of your clicks. You can upload your pictures at Spyne to make them more professional and crisper.
How to Take Better Photos for Your Used-Car Listing
Taking great photos of old cars is paramount to captivate buyers. Here is a step-by-step guide on how to take better photos for your used car listing:
Step 1: Firstly, thoroughly clean the car and select a tidy place for shooting.
Step 2: Using a good camera, take wide shots to get fuller views.
Step 3: Focus on the details when you are conducting used car photography.
Step 4: Be transparent about any imperfection. Clear photos of scratches and dents improve trust between dealers and buyers.
Step 5: Lastly, once you have taken all your photos, then make adjustments like cropping for a clean composition.
How Can Used Car Photography Help Your Business?
Auto dealer inventory photography is not only about snapping old cars, but it also helps to boost sales. Here’s what else it can do for your car dealing business:

Improved Online Presence
For starters, since quality photos improve the chances of clicking on your listings, automated inventory photography has the power to improve your digital presence. So, your website will witness a ton of traffic, providing you with a better rank on SERP.
Better Buyer’s Decision-Making
Then, well-clicked photos help customers to make fast decisions. By posting a comprehensive library of old cars online, you will receive multiple queries about the condition and features of the car.
Elevated Conversion Rates
Listing professional photographs results in higher conversion rates. It translates to better leads, ultimately cultivating more sales.
Long-term Marketing Value
Lastly, photos possess long-term marketing value. They can serve you for years. Once you create a complete library of a car, you can use these images to post in various listings, create social posts, conduct various marketing campaigns and more.
Essential Equipment for Car Photography
Thinking about, ‘how to photograph a car for sale?’. Then, worry no more! Here is a detailed low down of the top 5 essential equipment that every dealer needs to add that extra crispiness and quality to your captures:
- DSLR Camera: Firstly, DSLR or mirrorless camera offers great image quality. With faster autofocus and the flexibility of different lenses, it helps you take the perfect shot even in low-light conditions.
- Lens: Secondly, if you are aiming to capture the entire car in a single frame, go for the wide-angle lens. This is especially ideal for outdoor shoots. Conversely, if you are willing to zoom in on a specific detail of the car, a telephoto lens will be helpful. It can frame even minor details without disturbing the scene.
- Tripod: Thirdly, for long exposure clicks and a steady frame, the significance of a tripod is paramount. Be sure to invest in a good tripod to get flexibility in positioning.
- External Flash: Lighting has the power to transform any photo into a studio-style shot. However, an external flash gives you control over lighting. With this, you can balance the harshness of sunlight and improve the ambience in low-light conditions.
- Photo Editing Software: Moreover, industry-standard software like Spyne is essential for post-processing photos. We can adjust car photos’ exposure, contrast, colors, and background. We add the finishing touch to your clicks.
Mistakes You Can Avoid in Used Car Photography
When using auto dealership photography or car merchandising, you must avoid common mistakes when clicking pictures to get the desired results. Want to know what they are? Here are some used car photography mistakes that one needs to avoid:
Poor Angles: Some auto dealerships often go overboard with crazy angles that might look aesthetically pleasing but usually miss the subject and features of the car.
Wrong Camera Settings: This can make all the difference. Additionally, wrong camera settings can result in blurry or poorly lit pictures. Hence, dealership photographers should ensure the proper setting of ISO, aperture, and shutter speed for different conditions.
Messing with Shutter Speed: Have you ever seen shaky images with bad lights? It’s because of the wrong shutter speed setting. Moreover, for still cars, it is advised to use a speed between 1/200s and 1/500s, and for moving cars, use 1/100s to freeze action.
Relying Too Much on Photoshop: Every photo shoot needs post-production with a car photography studio, but it’s only used for touch-ups. Ultimately, the quality of your shoot will make the ultimate difference. Replying too much on editing and auto photo studio can result in an artificial image that loses authenticity.
Poor Lighting: Poor lighting can make your photos dark and blurry and often hide the necessary details about the car.
Conclusion
In the end, we would like to highlight that auto dealer photography is a critical aspect of any car dealership. Additionally, it helps them build a presence in the digital marketplace and position their cars in a more profound manner. Tips and strategies from this article and a professional used car photography app will set up a strong foundation for your used car photography and also maximize your sales.